Flavors Worth Finding: Winter Comfort Food Isn't Always About Soup
Under-the-Radar Sonoma Restaurants Locals Love
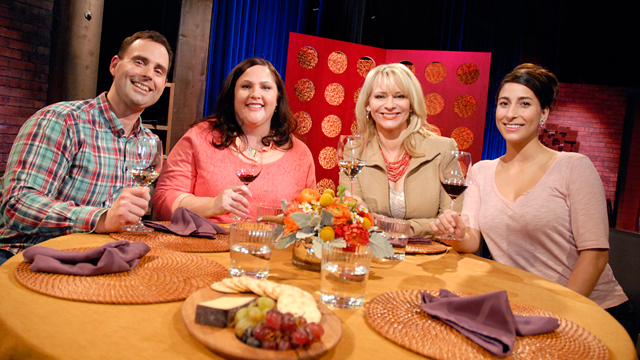
Watch Check, Please! Bay Area review: Lanna Thai, 20 Spot, Chalet Ticino
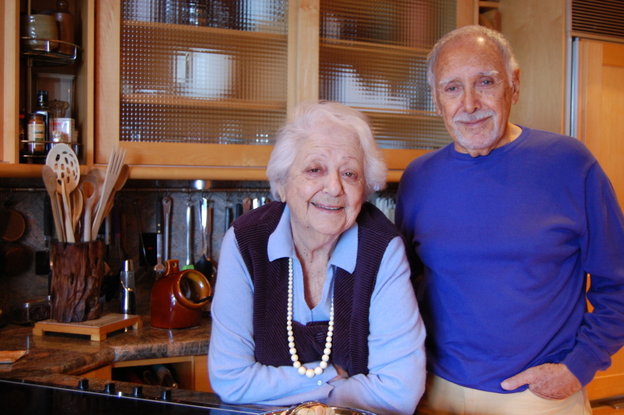
Remembering Marcella Hazan, Who Brought A Taste Of Italy To America
Coastal Italian Fare Comes to Jack London Square with Lungomare
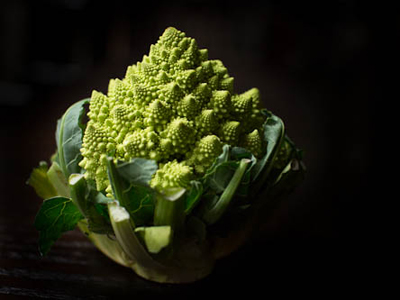
Romanesco, the Lady Gaga of Broccoli
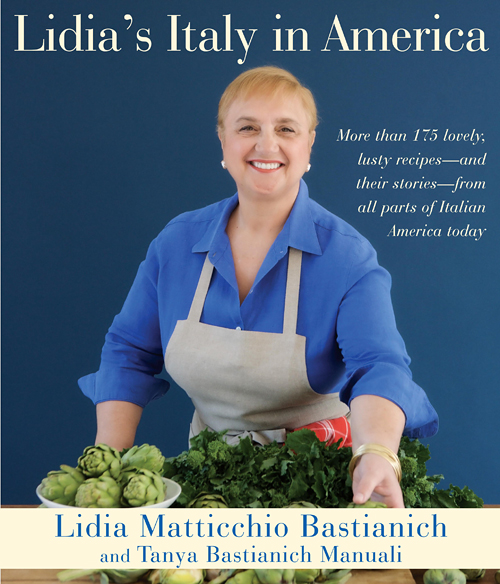
Book Review: Lidia's Italy in America
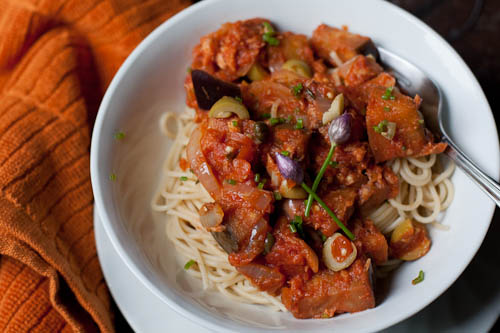
Pasta Puttanesca
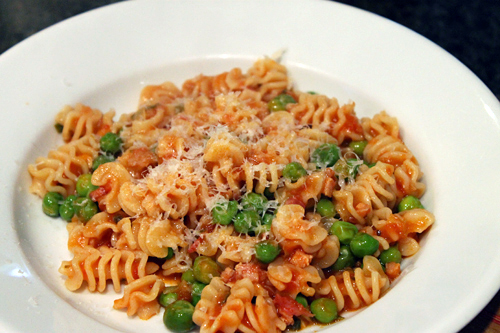
Pasta Piselli: Fresh English Peas, Spring Onions, Pancetta and Pasta